Flower Embroidery Patterns on Water Soluble Paper
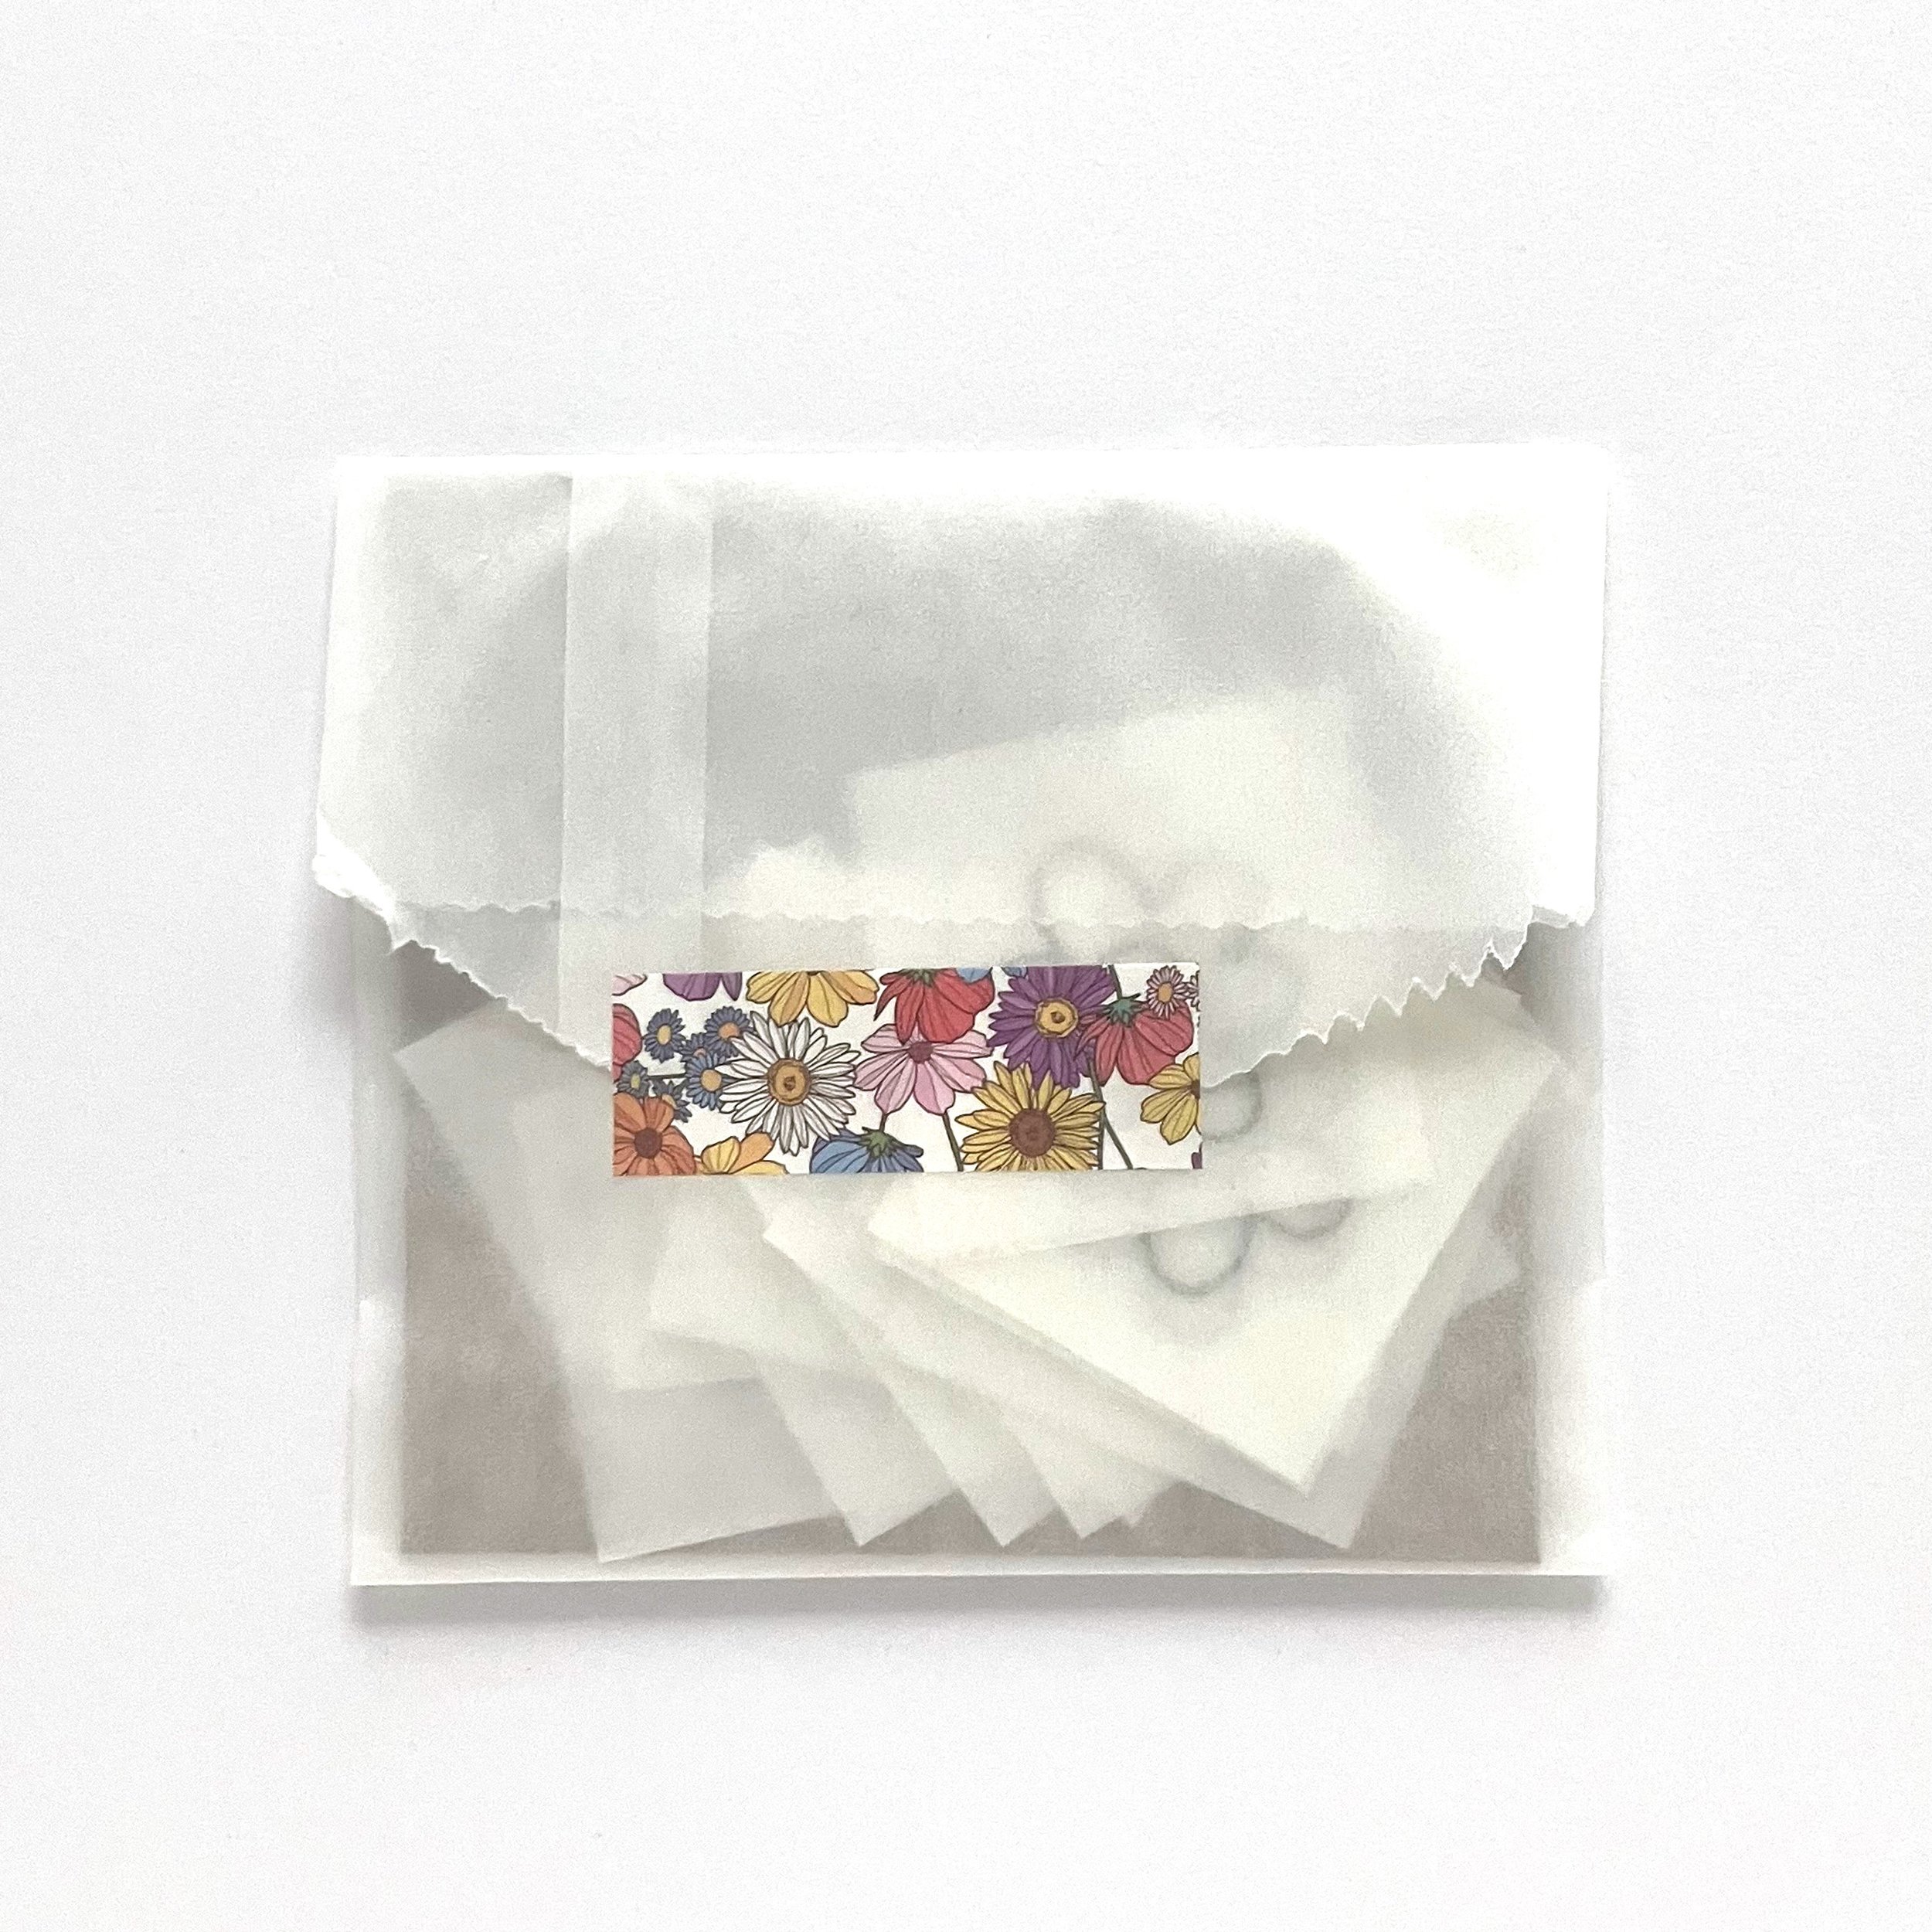
(6) stick and stitch water soluble floral designs for hand embroidery or visible mending.
The flower elements are about 2" x 2" for each piece.
Embroider tulips, daisies, and wildflowers on your jeans, a shirt, a skirt, a bag, make them into a patch, etc.
They are single use. Simple remove the backing paper, stick it in place, and start stitching.
You will receive (1) piece of each of the six designs shown in the photo for a total of (6) pieces.
To use them:
- Determine where you'll be stitching.
- Peel off the backing and stick the design in place.
- Stitch your design.
- Soak or rinse in warm water to loosen the water soluble paper.
- Gently rub away the paper.
- Allow your masterpiece to dry.
Tips: A soft bristle tooth brush makes it easier to rub away the paper. The cheapest one you can find will do the trick. If your needle gets sticky from the adhesive, wipe it down with rubbing alcohol.


